DIY Glamping Setup 2026: Essentials, Must-Haves & Cozy Ideas
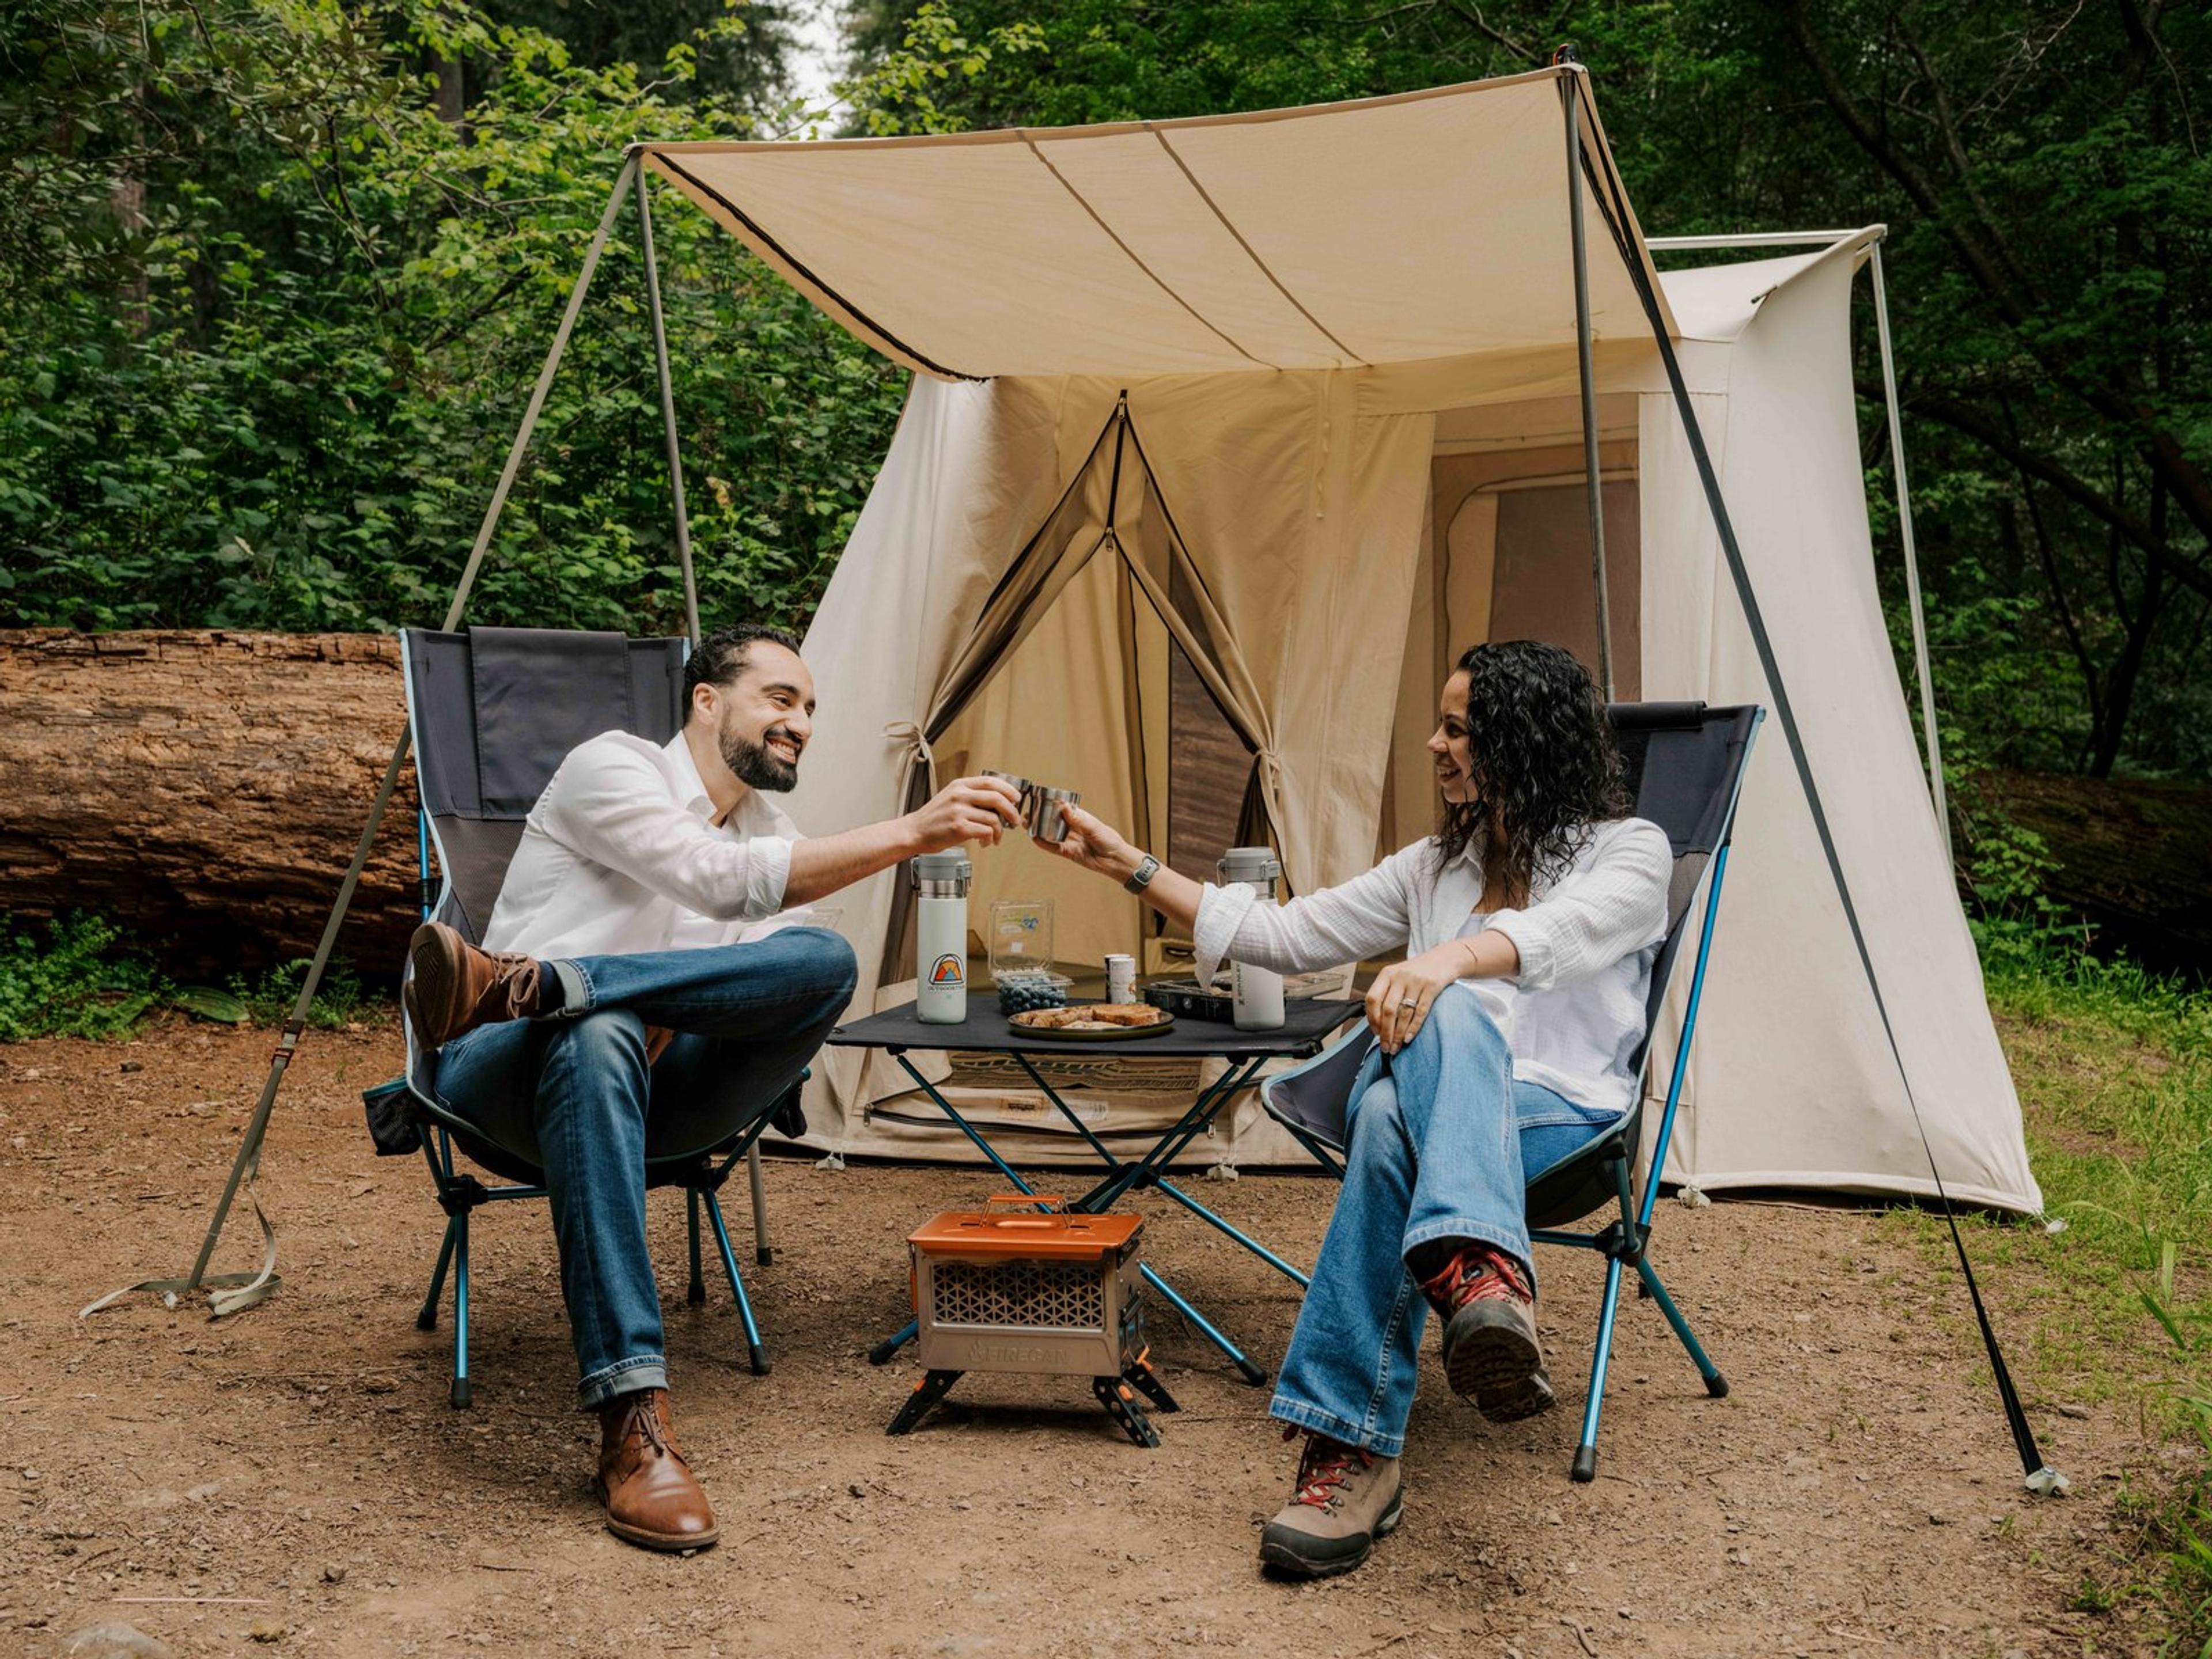
Outdoorithm co-founders Sally and Justin Steele enjoying their DIY glamping setup at Samuel P. Taylor State Park in California
When we hosted our first Outdoorithm group camping trip, a friend showed up with a borrowed orange nylon tent covered in dog hair. Another squeezed into a tiny backpacking tent shoulder-to-shoulder with her daughter in her early twenties. Some people just slept on the ground (no pads, no cots) and woke up shivering at 3am wondering why anyone does this for fun.
Meanwhile, our family was in our Springbar canvas tent with cots, NEMO sleeping bags, string lights, and a washable rug. Same campsite. Completely different experience.
That trip at Bothe-Napa Valley State Park changed everything. For years I'd struggled to convince my city friends to camp with us. The usual response was some version of "I'm not really outdoorsy" or "sleeping on the ground isn't for me." But after that weekend, after seeing what camping could look like, I started getting different questions: "Where did you get that tent?" "What are those cots called?" "Can you send me your gear list?"
That's DIY glamping. Not the $500/night luxury camping resorts with canvas tents on platforms. Not the Instagram-perfect setups that require a staff to maintain. Just regular camping with intentional comfort upgrades that transform the experience from something you endure to something you crave.
Here's the real secret: glamping anywhere doesn't require special campgrounds or premium fees. It just requires the right gear and knowing how to use it. And once you invest in that gear, you're not paying hotel prices every time you want to reconnect with nature. You own the experience.
If you make camping comfortable, you can do it 30+ nights a year instead of once.
Quick Start: DIY Glamping Essentials
Feeling overwhelmed? You don't need everything on this page. Here's what actually matters for your first glamping trip:
Must-Have (Start Here)
- A tent you can stand up in – This single upgrade changes everything
- Something to get you off the ground – Cot, thick pad, or air mattress
- A roomy sleeping bag – Rectangular, not mummy style
- A real pillow – Not clothes stuffed in a sack
- Camp chairs that sit at conversation height — a Cascade Mountain Tech High-Back ($60) gives you 80% of the Helinox experience
Nice-to-Have (Level Up)
- Canvas tent for breathability and durability
- String lights for ambiance
- Washable rug for your tent floor
- Powered cooler or the RTIC 45 ($310) — excellent ice retention at a more accessible price
Skip for Now (Advanced)
- Tent heaters and stoves
- Portable showers
- Solar power systems
- Starlink internet
Got those five essentials? You're ready to glamp. Everything else in this guide is about leveling up over time.
Types of Glamping Tents
"What kind of tent is that?" is the question we get more than any other. When people picture glamping, they picture one silhouette: a big canvas tent you can stand up in. But "glamping tent" isn't one thing. Here are the styles you'll actually run into, and who each one is for.
| Tent style | Also called | Best for | What to know |
|---|---|---|---|
| Canvas wall tent | Cabin or outfitter tent | Families who camp often and want a tent for decades | Heavy and pricey, but it breathes, takes a stove, and lasts. Our Springbar Classic Jack 140 is this kind of tent. |
| Bell tent | Sibley tent | Couples and small families who want the look with less setup | One center pole, a fast pitch, very photogenic. Less usable interior than a wall tent. |
| Safari tent | Resort glamping tent | The resort experience (usually rented, not owned) | The big structured tents on platforms at commercial glamping sites. Expensive to own. |
| Yurt, cabin, or pod | Glamping hut | People who want glamping without owning gear | You book a structure, not a tent. Search these as "cabins" or "huts." |
| High-wall synthetic | Cabin-style tent | First-timers not ready to invest in canvas | Lighter, cheaper, dries fast. The North Face Wawona 6 and NEMO Aurora Highrise 6 give standing room without the canvas commitment. |
If you are buying your own and plan to glamp more than a few times a year, the real decision comes down to a canvas wall tent versus a high-wall synthetic. Here is how we think about that choice.
Choosing Your Glamping Tent
The single biggest upgrade you can make is your tent. Every other comfort flows from this decision.

The Capacity Truth
Capacity ratings assume shoulder-to-shoulder sleeping with zero room for gear. For comfortable glamping, plan on half the stated capacity. A 10x10 tent works for 3 people. A 10x14 tent works for 4-5.
The other non-negotiable: standing height. Justin is 6'3", and after years of hunching in dome tents, we refused to buy anything under 6'6" peak height. When you can stand up to change clothes, when you can move around like a human being, camping stops feeling like a compromise.
Standing room isn't a luxury; it's what makes a first-timer feel like they belong here.
Canvas vs. Synthetic
For serious glamping, we recommend canvas tents. The Springbar Classic Jack 140 has been our family tent for years. At 140 square feet with a 6'6" peak, it fits five cots with room to spare. Canvas breathes in summer, insulates in winter, and will outlast your kids' childhoods.
The trade-offs are real: canvas is heavier, takes longer to dry, and costs more upfront. But we've met families still using Springbar tents their grandparents bought. That's the kind of investment we're talking about.
For families not ready for canvas, the North Face Wawona 6 or Wawona 8 ($785 at REI) is an excellent synthetic option with near-vertical walls and real standing room.
For a deeper dive on canvas tents, check out our Springbar Tent Review.

The Sleep System That Changes Everything
After the tent, your sleep system is where glamping is won or lost. The ground steals your body heat. Thin pads create pressure points. Narrow mummy bags make you feel like you're in a straitjacket all night.
Get Off the Ground
Helinox cots ($399.95 at REI) changed our camping. They get you off the cold ground, provide a flat sleeping surface, and create storage space underneath. The difference in sleep quality is immediate.
At that first Napa trip, the friends sleeping directly on the ground were the ones who woke up at 3am. The ground pulled heat right out of their bodies. A cot plus a good pad (we use NEMO Roamer ($186.93 at REI) or Exped) creates a sleep surface that rivals your bed at home.
Comfort is what turns "I tried camping once" into "When are we going again?"
Sleeping Bags That Feel Like Bedding
Forget mummy bags unless you're backpacking. For glamping, you want room to move, roll over, and sleep like a normal person.
The NEMO Jazz sleeping bags open flat, zip together as a double, and feel like actual blankets. If a bag lists an EN/ISO rating, look for the "Comfort" rating; if it only lists a single number, assume it's optimistic and size up warmth.

Layer with a Rumpl insulated blanket ($74.93 at REI) for flexibility. Some nights you just need a light cover. Other nights you want everything you've got.
Comfort & Ambiance
This is where glamping becomes glamping. These aren't essentials for survival; they're investments in actually enjoying your time outdoors.
Flooring
A Ruggable washable rug transforms your tent floor. It defines your space, keeps dirt at bay, and makes everything feel intentional. When friends walk into our tent and see a rug, string lights, and actual furniture, their whole understanding of camping shifts.
Even with a rug down, the floor still collects everything: pine needles tracked in on socks, cracker crumbs from the kids, a startling amount of someone's dog hair. You can go after it with a hand broom, and we did for a season, but sweeping a tent floor means crouching in the doorway, chasing the same pile into a corner, and pinning the rug down with one hand while you brush at it with the other. Your back is the first thing to complain. Now we keep a Bosch handheld vacuum in the gear bin instead. It's cordless and small enough to live in that bin between trips, and it grabs every loose piece of dirt or hair from the tent floor in one pass, with no stooping down or bending your back over a broom to do it. I run it over the cots and the rug while everyone's still out at the fire, and two minutes later the tent feels lived-in instead of gritty underfoot. It's a small thing that turns out to be the difference between a tent you tolerate and a space you actually want to climb into at the end of the day.
The rug and lights aren't fluff; they're hospitality.
Lighting
Solar string lights aren't just decorative; they create ambiance that changes how you experience your evenings. Solar-powered options mean no batteries to manage. Hang them from your tent's ceiling or along your shelter.
String lights set the mood. But the moment a kid needs the bathroom at 11pm, or someone's digging through the cooler for the marshmallows, you need real light, fast. We keep a Coast RL35R voice-controlled headlamp by the tent door for exactly that. I used to hate hunting through button presses in the dark, holding one to find red, tapping past four modes I didn't want. Now I just say what I need and my hands stay free, which is the whole point when you're carrying a half-asleep kid in one arm. The ARC setting is the one we live in: warm, diffused, bright enough to see by but soft enough that it won't blind whoever's across the picnic table. At bedtime the kids climb into their bags and tell it to turn off without sitting up. The catch: they've also figured out they can stroll past me and order Coast to go bright green, purely for the giggle. Worth it.

Furniture
Helinox Sunset chairs are worth the investment. They pack small, set up instantly, and sit at a height that makes conversation comfortable. We have smaller Helinox Beach chairs for the kids.

Shelter Space
A Springbar Leisure Port or similar screen shelter extends your living space outdoors. It's where we set up our outdoor movie projector, gather during rain, and host group meals.
DIY Glamping Setup: Our 45-Minute Routine
Knowing what gear to bring is half the battle. Here's the order we actually set up camp, refined over dozens of trips:
- Scout the pad – Check for level ground, shade position for afternoon, and proximity to water/bathrooms
- Pitch the tent – Door facing morning sun if possible, away from fire ring smoke
- Lay the rug – This goes down before anything else inside
- Set up cots and sleeping bags – Leave a walkway down the middle
- Hang string lights – Easier to do now than after dark
- Arrange outdoor zone – Chairs around fire ring, table in shade
- Set up kitchen zone – Cooler in shade, stove on stable surface, water station accessible
- Load cooler and food storage – Keep everything bear-safe if required
The whole process takes about 45 minutes with two adults. The kids "help" by claiming their cots and arranging their stuffed animals.

Looking for a campground where this setup is easy? Parking close, shade available, not a long carry from the car? Camp Sage can help you find the right spot.
Kitchen Setup
For glamping, we go beyond the simple camp stove. The everyday setup we run on regular trips is in our camping kitchen gear guide; this is the upgrade path.
Cooking
The Napoleon TravelQ 285 dual-burner grill does indirect heat, which means it functions as an oven. You can bake, roast, and cook things that most people reserve for their home kitchen. For quick cooking, Jetboil Genesis burners are fast and efficient.
Food Storage
The Dometic powered cooler ($959.99 at REI) keeps food refrigerator-cold without ice. No more draining melt water or worrying about items getting soggy. We still bring YETI hard coolers for beverages and backup storage.

Water
A Dometic water jug with faucet beats the constant refilling of water bottles. For drinking water at campgrounds without potable water, the Guzzle H2O filter makes any water source safe. The YETI Silo water cooler keeps cold water available all day.

The Glamping Bathroom
The fastest way to lose a first-time camper is a 2am walk to a pit toilet that smells like one. We learned that at Lake Alpine West Shore, where our favorite site sits a long, dark walk from the toilets, and for years those toilets were badly ventilated and genuinely rough. (They have gotten better since.) After enough trips of talking ourselves out of water at dinner just to avoid that walk, we started bringing our own bathroom.
We actually started during COVID, when shared restrooms felt like a gamble, and we never stopped. The rule now is simple: if a campground's bathrooms are far from our site or have a bad cleanliness reputation (usually the pit-toilet spots), the Thetford Porta Potti 365 comes along.
Here is the honest version of how we run it, because nobody talks about this part and they should.
We only pee in it. That one rule is what keeps a portable toilet from becoming a portable problem. Liquid does not turn foul the way solid waste does, so the toilet stays manageable all weekend. Pooping is worth the walk to whatever real bathroom the campground has. When someone truly cannot make the walk, we line the bowl with a Cleanwaste WAG bag, drop the toilet paper and wipes straight in, tie it off, and it goes in the trash. Dealing with a bag is a hundred times easier than dealing with sewage.
Dumping is just as low-drama, because it is only liquid. If the campground has a dump station, we empty it there. If not, we pour it down a pit toilet. And if there is neither, we cap it, drive it home, and dump it in our own toilet. It is just pee. Not a big deal.
For privacy, we set up a dedicated bathroom tent so the toilet is not sitting out in the open at camp. We have used both the Joolca ENSUITE Single and the NEMO Heliopolis, and either one gives you a standing, zip-shut room for the toilet, plus a hot shower if you add the Joolca Hottap. Tuck it a few steps off your main setup, put the Porta Potti inside, and you have built a real bathroom at a site that did not come with one.

It sounds fussy written out. In practice it is fifteen extra minutes at setup, and it is the difference between kids who hold it until they are miserable and kids who just go.
And if you would rather not haul a shower at all, the answer is wipes. The next best thing to a real rinse at the end of a dusty day is a good body wipe, and after trying a pile of them we keep coming back to Hustle Clean Body Wipes. They are big, antibacterial, and carry just the right amount of moisture, not so wet they leave you sticky, with a scent that is clean instead of perfumey. Each one is individually wrapped, so the routine is easy. One wipe for everything above the belt, a fresh one for the private areas, and you climb into your sleeping bag actually feeling reset. They are also a Black-owned brand and an REI Embark partner of ours, which makes them easy to root for.
We put them through the real test on a four-day group trip at Indian Cove Group campground in Joshua Tree, a dry site with no running water. We hauled in our big water jugs, but every gallon was precious and there was nothing to spare for showers. So we ran the whole long weekend on wipes, and we did not miss a beat. Four days, a full group, and not one person complained about the lack of a shower. Beautiful.
Advanced Upgrades (Optional)
These aren't essentials for getting started; they're for families who've caught the glamping bug and want to extend what's possible. Skip this section for now if you're just getting started.
Power
EcoFlow batteries with solar panels keep everything charged: phones, lights, speakers, even small appliances. You're not searching for outlets or rationing phone battery.
Internet
Yes, we bring Starlink Mini when we're working remotely. Some people will say that defeats the purpose, but reliable internet means we can camp more often, not less. It extends what's possible.
Climate Control (Safety First)
For cold weather glamping, the Propex PS2000 propane heater or Nu-Way 3500 tent stove with a stove jack changes everything. Our Springbar tent has a stove jack port for vented heating.
Important safety notes:
- Always use a CO detector in your tent (this is non-negotiable)
- Follow manufacturer ventilation requirements exactly
- Check campground rules: some prohibit tent heaters or stoves
- Only use tents designed for stove use with fire-resistant materials
Winter Glamping & Cold Weather Camping
Most people think camping season ends when temperatures drop. With the right gear, winter becomes prime glamping season.
A heated tent with a stove jack is the gateway to cold weather camping. You need:
- A tent designed for stove use – with a stove jack port and fire-resistant materials
- A proper tent stove – either propane (Nu-Way) or wood-burning
- Carbon monoxide safety – always have a CO detector and proper ventilation
- Layered sleep system – cot + pad + bag + blankets
The silence of a snowy campground, the warmth of your heated tent, the lack of crowds: winter glamping converts everyone who tries it.

Once you’re set up for it, here are the best California campgrounds for winter camping.
Packing for a trip? Our free interactive checklist tracks everything, tent to toothbrush, so nothing gets left in the garage.
Open the camping checklistBackyard Glamping: Your Practice Run
Here's a secret: canvas tents can stay up for weeks or months. Your backyard is the perfect place to test your glamping setup without pressure, and it's one of the best glamping ideas for beginners.
Set up your tent, arrange your furniture, try different lighting options. Let the kids sleep out there while you're still inside if something goes wrong. Learn what you've forgotten before you're 3 hours from home.
Backyard glamping is also its own legitimate activity. Some of our best family nights have been in our own backyard, marshmallows roasting over the firepit, stars overhead, kids thinking they're on an adventure.

The Investment Mindset
DIY glamping requires upfront investment. A quality tent runs $500-1500. Cots and sleeping bags add several hundred more. By the time you have a full glamping setup, you might have spent what a single weekend at a glamping resort costs.
But here's the math: you own that gear. Use it 10 times and it's $50-150 per trip. Use it 30 times (and when camping is this comfortable, you will) and you're at $15-50 per trip for an experience that rivals $400/night glamping resorts.
| Option | Upfront | Per night after | Over 10 nights |
|---|---|---|---|
| Glamping resort | $0 | $300-1,000 | $3,000-10,000 |
| Hotel + day trips | $0 | $150-400 | $1,500-4,000 |
| DIY glamping setup | $1,000-3,000 (gear you own) | ~$0 | $1,000-3,000, then it keeps paying off |
The resort and the hotel never stop charging you. The DIY setup is the opposite: you spend once, and every night after is basically free.
More importantly: you can camp anywhere. You're not limited to the locations that have glamping infrastructure. Every campground becomes a glamping destination when you bring the comfort with you. You own the experience.
Getting Started
You don't need everything at once. Here's how to phase in:
Phase 1: Sleep System
- Quality sleeping pad or cot — a Klymit Insulated Static V Luxe ($89) or Naturehike cot ($108) gets the job done without breaking the bank
- Roomy sleeping bag rated for your climate — the Wawona Bed 20 ($130) or NEMO Forte ($120) are great starting points
- Real pillow (don't use clothes stuffed in a sack)
Phase 2: Tent Upgrade
- Standing height tent with room to move
- Consider canvas if you're committed
Phase 3: Comfort Additions
- Camp chairs that sit at conversation height
- Lighting for ambiance
- Flooring/rug
Phase 4: Kitchen & Utilities
- Better cooking setup — the Camp Chef Everest 2X (check price at Amazon) is our recommended entry point for serious camp cooking
- Powered cooler
- Portable power — an EcoFlow RIVER 3 Plus ($269) handles phones, lights, and small appliances
Find Your Spot
Ready to test your glamping setup? Use Camp Sage to find the perfect campground for your first trip. Tell it what you're looking for: riverside sites, shade, easy access for unloading gear. It will find options you'd never discover scrolling through reservation sites.
Glamping isn't about escaping to luxury. It's about removing the barriers that keep you from getting outside more often. When camping is comfortable, you stop making excuses. You start making memories.
The best glamping setup is the one that gets you out there.
Frequently Asked Questions
What is DIY glamping?
DIY glamping is bringing your own comfort upgrades to regular campgrounds instead of paying for pre-built glamping resorts. With the right tent, sleep system, and ambiance items, you can create a glamping experience anywhere, and you own the gear instead of paying resort prices every trip.
How much does a DIY glamping setup cost?
A quality DIY glamping setup runs $1,000-3,000 for tent, cots, sleeping bags, and comfort items. That sounds steep until you realize a single weekend at a glamping resort costs $500-1,000. Use your gear 10+ times and the per-trip cost drops dramatically.
Is a canvas tent worth it for glamping?
Canvas tents cost more upfront ($800-2,000) but offer superior breathability, temperature regulation, and durability measured in decades. If you plan to glamp regularly, canvas is worth it. For occasional camping, a quality synthetic tent with standing room works fine.
What are the glamping essentials I need to get started?
Start with five essentials: a standing-height tent, something to get you off the ground (cot or thick pad), a roomy rectangular sleeping bag, a real pillow, and camp chairs at conversation height. Everything else (string lights, rugs, powered coolers) can come later.
Can I use a heater in a tent?
Yes, but only with proper safety measures. You need a tent designed for stove use (with stove jack port and fire-resistant materials), a CO detector inside your tent, proper ventilation, and you must check campground rules first: some prohibit tent heaters entirely.
Is glamping cheaper than a hotel?
Per night, yes, once you own the gear. Your only ongoing cost is the campsite, usually $20-50 a night versus $150 or more for a hotel. The catch is the upfront gear, which pays for itself in about a week’s worth of nights.
Is glamping worth the money?
If you camp more than a few times a year, yes. A DIY setup costs about what one weekend at a glamping resort costs, but you own it and can use it anywhere for years. If you only get outside once a year, renting a cabin or a glamping site makes more sense.
What is a glamping tent called?
The classic glamping tent is a canvas wall tent, sometimes called a cabin or outfitter tent. Other common styles are bell tents, safari tents, and yurts. What they share is standing height and room to actually live inside, not just sleep.
Do you have your own toilet when glamping?
You can. At resorts, glamping units often include a bathroom. For DIY glamping, many people (us included) bring a portable toilet and a privacy tent, especially at campgrounds where the bathrooms are far away or not well kept.
How do you go to the bathroom while glamping?
Most campgrounds have toilets, from flush restrooms to pit toilets. When those are far or unpleasant, a portable toilet inside a privacy tent solves it. Our rule is liquids only in the portable toilet and a walk to a real bathroom for everything else, which keeps it clean and easy to dump.
Can you go glamping without a camper or RV?
Absolutely. DIY glamping is about getting camper-level comfort out of a tent setup: a standing-height tent, a real sleep system, lighting, and a few comfort items. No camper, no resort, and no special campground required.
What is the most forgotten glamping item?
A real pillow. People remember the tent and the sleeping bag, then stuff a hoodie in a sack for their head. A camp pillow is cheap, packs small, and is the difference between sleeping and "sleeping."
Plan your next trip. Find a campground →
Want a personalized version of this guide?
Camp Sage tailors recommendations to your dates, group, and gear — free.
Join our newsletter to get more resources and tips to help your family camp with confidence!

